How to Thread Your Sewing Machine?
Threading a sewing machine initially seems intimidating, especially if you’re new to sewing. However, with some patience and practice, it can become a simple step in your sewing projects. Our guide aims to demystify the threading process, breaking it down into simple, easy-to-follow steps.
There’s no need to overcomplicate things. Just follow our step-by-step instructions, and you’ll find threading your sewing machine a straightforward, hassle-free experience. First, you know about the Sewing machine!
What is a Sewing Machine?
A sewing machine stitches fabric and other materials together with thread. It’s essential for making clothes, accessories, and various textile projects. Sewing machines can range from simple, manual machines to advanced, computerized models that offer a wide range of stitches and features.
They make sewing faster, more precise, and easier than hand stitching, allowing for the creation of intricate and durable seams. Even if you are using it for personal use, a hobby, or professional tailoring, sewing machines are indispensable in crafting and garment making.
How to Thread Your Sewing Machine: A Complete Beginner’s Guide
Winding the Bobbin: A Step Guide
Step 1: Setting Up Your Thread Spool
First, place your thread spool on the spool pin located at the top of your sewing machine. Ensure the spool is positioned so that the thread unwinds counterclockwise. Some machines have a handy diagram right on top to guide you.
Step 2: Drawing the Thread
Gently pull the thread from the spool and guide it around the bobbin winding tension disc. This is typically found on the top of the machine, opposite the needle area. A small wire might be there to help keep the thread in place.
Step 3: Preparing the Bobbin
Take the end of your thread and thread it through one of the holes in the bobbin from the inside out. Then, wrap the thread around the bobbin a few times manually to secure it. If threading bobbins isn’t for you, pre-threaded bobbins are available at most craft stores.
Step 4: Positioning the Bobbin
Place the bobbin on the pin, usually near the spool pin. Slide the bobbin pin to the right to lock the bobbin in place, ready for winding. You’ll know it’s secure when you hear a click.
Step 5: Starting the Bobbin Winder
Begin winding the bobbin by either stepping on the foot pedal or pressing the bobbin winding button, if your machine has one. After a few spins, pause to trim the excess thread from the bobbin to avoid any mess.
Step 6: Completing the Winding
Continue winding until the bobbin is full, stopping when the thread is nearly level with the edge of the bobbin. Some machines automatically stop when the bobbin is full.
Step 7: Removing the Bobbin
Slide the bobbin pin to the left to release the bobbin. Cut the thread connecting the bobbin to the spool, leaving a tail of about 2-3 inches. Your bobbin is now ready for use.
Threading the Upper Half of the Machine
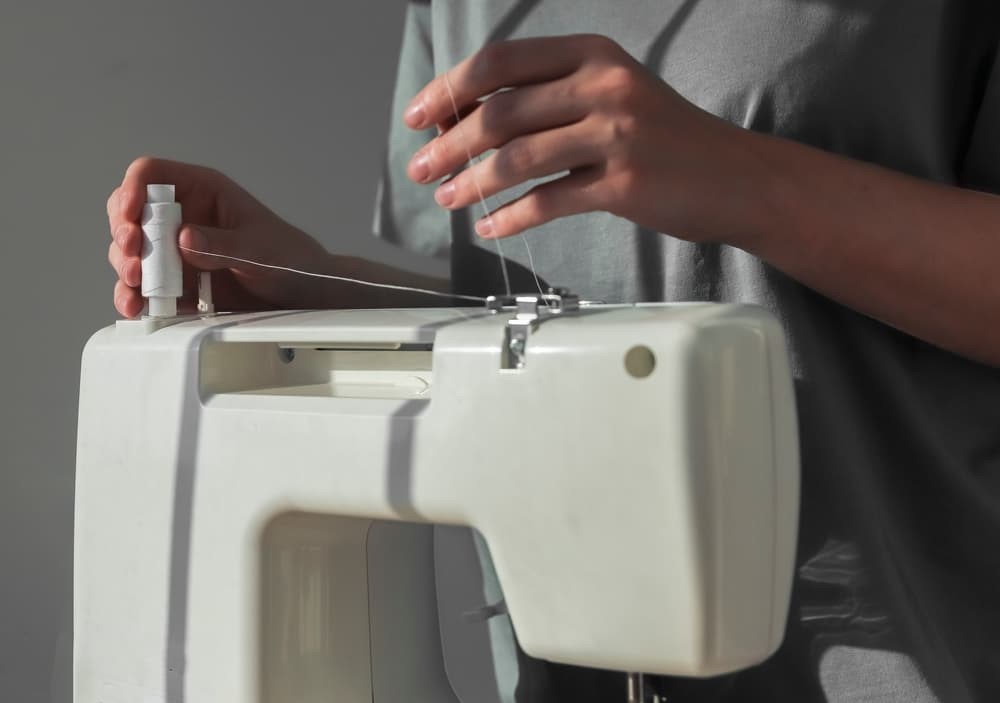
Step 1: Spool Placement
Place your thread spool onto the spool pin, ideally so the thread unwinds from underneath. This helps with stability. Check any diagrams on your machine for guidance.
Step 2: Guide the Upper Thread
Draw the thread from the spool across the top of the machine, passing it through the thread guide. This guide is a protruding silver piece. Ensure the thread wraps around it correctly, following any printed instructions on your machine.
Step 3: Downward Path
Follow the machine’s directional arrows, guiding the thread down around the tension discs, then back up to the second thread guide, forming a “U” shape.
Step 4: Take-up Lever
Loop the thread around the take-up lever, creating a sideways “S” shape, then guide it back down towards the needle.
Step 5: Needle Threading
Thread the needle from front to back, pulling a few inches of thread through. Guide this thread under the presser foot.
Threading the Lower Half of the Machine
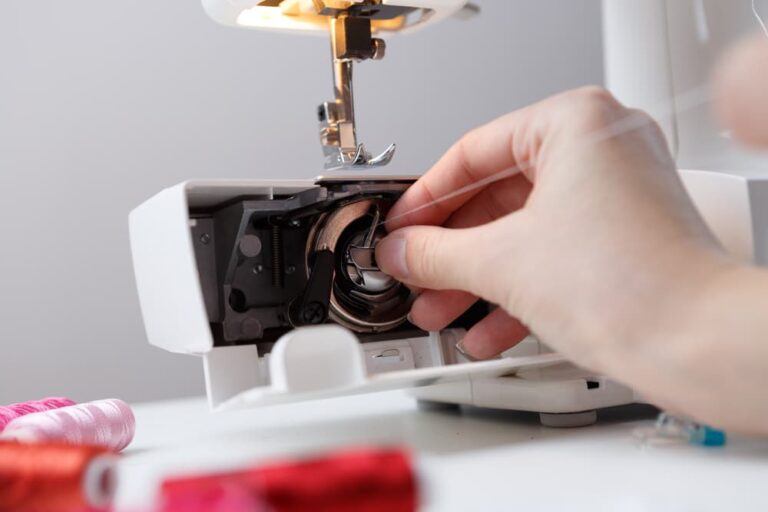
Step 1: Access the Bobbin Area
Open the compartment below or in front of the needle to reveal the bobbin case. This should be straightforward; if not, double-check you’re opening the correct compartment.
Step 2: Bobbin Preparation
Unwind a few inches of thread from the bobbin to ensure it catches properly when you start sewing.
Step 3: Bobbin Placement
Place the bobbin in its compartment, making sure the thread unwinds in the correct direction according to the machine’s diagram. Close the compartment once the bobbin is securely in place.
Step 4: Bringing Up the Bobbin Thread
Turn the handwheel towards you a few times to catch the bobbin thread, pulling it up through the needle plate. Ensure a few inches of thread are pulled out and ready for sewing.
Tips to Consider:
- Always start with a fresh spool of thread to avoid tangles and ensure smooth sewing.
- Regularly change your sewing machine needle to prevent a piece of fabric damage and ensure precise stitches.
- Opt for quality threads to enhance the durability and appearance of your projects.
- Ensure the thread and needle size match the fabric type for optimal results.
- Keep your sewing machine clean and well-oiled to maintain its performance.
- Practice threading and bobbin winding to become more efficient.
- Store threads and needles properly to protect them from damage and deterioration.
Conclusion:
In conclusion, threading your sewing machine is a fundamental skill that, once mastered, opens the door to a world of creative possibilities. By following the step-by-step guide, beginners can quickly learn to thread their machines correctly, ensuring a smooth start to any sewing project.
Remember, the key to success lies in understanding your machine, using the right materials, and practicing patience. Don’t be discouraged by initial challenges; proficiency comes with practice. Keep your machine clean, refer to your manual for guidance, and always test your settings on scrap fabric before diving into your projects.
Embrace the learning process and enjoy the journey of becoming a confident sewer. With these tips and a bit of perseverance, you’ll find that threading your sewing machine becomes second nature, paving the way for endless creative exploration and the joy of bringing your sewing projects to life.