How to Put a Bobbin in a Sewing Machine: A Step-by-Step Guide
Hey there! So, you’ve decided to dive into the world of sewing, or maybe you’re just trying to figure out that one tricky part of setting up your sewing machine – putting in the bobbin, right? It sounds simple, but sometimes it gets complicated. Don’t worry, we are here to guide you!
Inserting a bobbin into a sewing machine is a crucial step that often goes unnoticed, yet it holds the power to determine the success of your sewing project. Get it right, and you’re on your way to creating something amazing.
We are here to guide you through our step-by-step guide, making it as easy as pie. Whether you’re a complete newbie or need to learn, let’s demystify this process and turn that daunting task into a walk in the park. Ready to get started? Let’s thread our way to success!
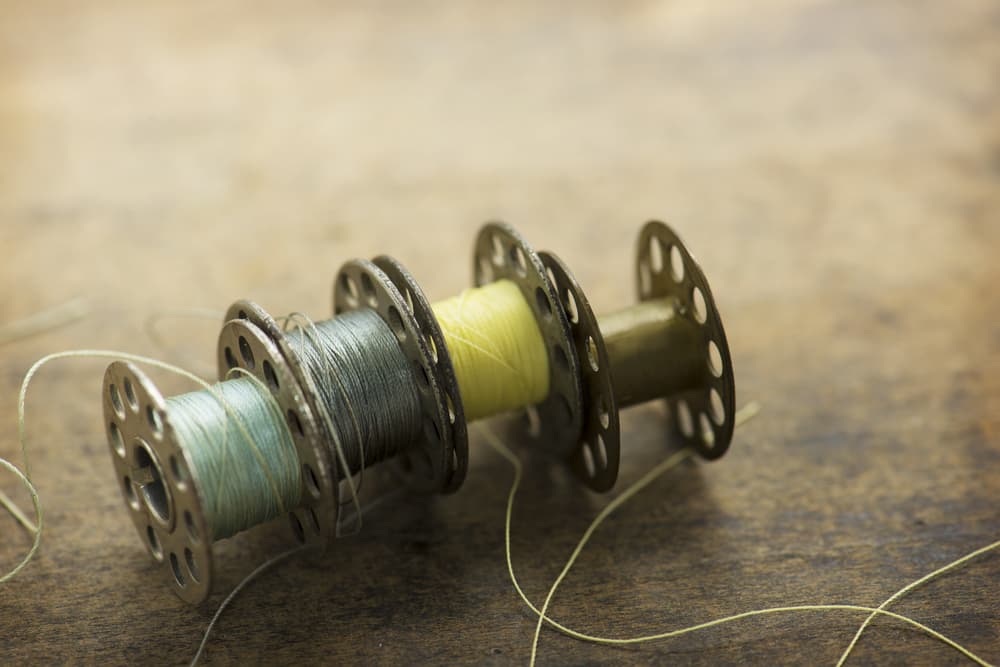
What’s a Sewing Machine Bobbin?
A sewing machine bobbin is a tiny spool that holds the bottom thread in a sewing machine. It works together with the upper thread from the needle to form stitches on the fabric. Think of it as the partner in a dance, where both need to move in harmony to create beautiful results.
The bobbin is placed in a compartment beneath the needle, and it’s super important because without it, the machine can’t make stitches. It’s like the heart of the sewing process, helping to keep everything running smoothly and your creations coming to life!
Types of Sewing Machines
- Electronic Sewing Machines: Versatile for various projects with features like straight and zig-zag stitches; ideal for occasional to frequent sewers.
- Mini and Portable Machines: Compact, easy to carry, suitable for small repairs and minor projects, not for heavy-duty use.
- Computerized or Automated Machines: Advanced features like LCD displays and automatic needle threading for precision sewing; best for severe hobbyists and professionals.
- Embroidery Machines: Specialized for embroidery with built-in designs and USB import capability; a significant investment for dedicated embroiderers.
- Quilting Machines: Designed with a longer arm for large quilts, it is perfect for quilting enthusiasts to handle multiple fabric layers.
- Overlocking or Serger Machines: Ideal for stretching fabrics and finishing edges professionally; trims and overcast seams in one step are crucial for garment making.
Inserting a Bobbin into a Sewing Machine: A Simple Guide
Preparing the Bobbin
Before inserting the bobbin into your sewing machine, you must wind it with thread. Here’s how to do it:
- Select the appropriate thread for your project and place it on the spool pin.
- Thread your machine for bobbin winding, following the guides usually marked on your machine.
- Place an empty bobbin on the bobbin winder and secure it in place.
- Engage the bobbin winder by pushing it to the right or following your machine’s specific mechanism.
- Start your machine, either by pressing the foot pedal or the start button, to wind the thread onto the bobbin evenly.
- Disengage the bobbin winder once the bobbin is full and trim the thread.
Inserting the Bobbin in a Top-Loading Machine
Top-loading machines have a bobbin case that’s directly accessible from the top of the machine, usually under the needle area. Here’s how to insert the bobbin:
- Turn the handwheel towards yourself to elevate the needle to its maximum height.
- Remove the bobbin cover plate by pressing the release button or simply sliding it off.
- Drop the bobbin into the bobbin case, ensuring the thread unwinds in the correct direction (consult your machine’s manual for the correct orientation).
- Pull the thread through the slot on the side of the bobbin case, then along the path marked by your machine.
- Replace the bobbin cover, and you’re all set to start sewing.
Inserting the Bobbin in a Front-Loading Machine
The front-loading bobbin system requires inserting the bobbin into a bobbin case before placing it into the machine. Here’s the process:
- Open the bobbin cover plate or door, usually near the machine’s base on the front.
- Remove the bobbin case lever by pulling the latch and gently pulling it out.
- Insert the bobbin into the bobbin case, ensuring the thread unwinds in the right direction (again, consult your machine’s manual).
- Pull the thread through the slit in the bobbin case lever, ensuring it slides under the tension spring.
- Hold the bobbin case by the latch and insert it into the machine, ensuring it clicks into place.
- Close the bobbin cover, and your machine is set for sewing.
Troubleshooting Common Bobbin Issues
Even with proper insertion, you may encounter issues with your bobbin. Here are rapid solutions for typical issues:
- Machine jams: Clean out lint or thread from the bobbin case, then reinsert the bobbin.
- Bobbin not fitting: Use the correct bobbin size and type specified for your machine.
- Thread tension issues: Adjust bobbin tension as per your machine’s manual to fix loose or tight stitches.
- Bobbin thread not catching: Ensure the top thread is re-threaded, and the bobbin is correctly inserted and unwinding properly.
- Thread bunching under fabric: Remove lint or loose threads from the bobbin area to prevent bunching.
- Bobbin running out too quickly: Check for an evenly and tightly wound bobbin to ensure consistent stitch quality.
- Machine skipping stitches: Inspect the bobbin for damage or warping that could affect stitch timing.
Conclusion:
Wrapping up, and putting a bobbin into a sewing machine is straightforward once you know how. The key step involves using the spool of thread correctly. Please pay attention to how you load the bobbin to avoid putting it in the wrong direction, as this can cause problems with your sewing.
It’s essential to take your time to understand the direction in which your machine needs the bobbin to be inserted. Following the instructions carefully, you can set up your sewing machine without trouble. Remember, practice makes perfect. So, keep at it, and you’ll get the hang of it in no time. Happy sewing!


You made some really good points there. I looked on the web for more info about the issue
and found most people will go along with your views on this web site.