How to Sew a Button?
Imagine you’re on a business trip, miles from home, and getting ready for a crucial meeting. You’ve got the perfect suit laid out, your presentation is polished, and you feel confident.
But as you dress, disaster strikes—a button on your suit jacket is loose and gradually ruptures. What should you do? There’s no time to find a tailor and a temporary fix-up with a safety pin just won’t cut it for a professional look.
Despite thinking you’d never use it, just read our guide once and learn how to swiftly and effectively sew buttons, ensuring you look impeccable and ready for your future endeavors. Here’s how:
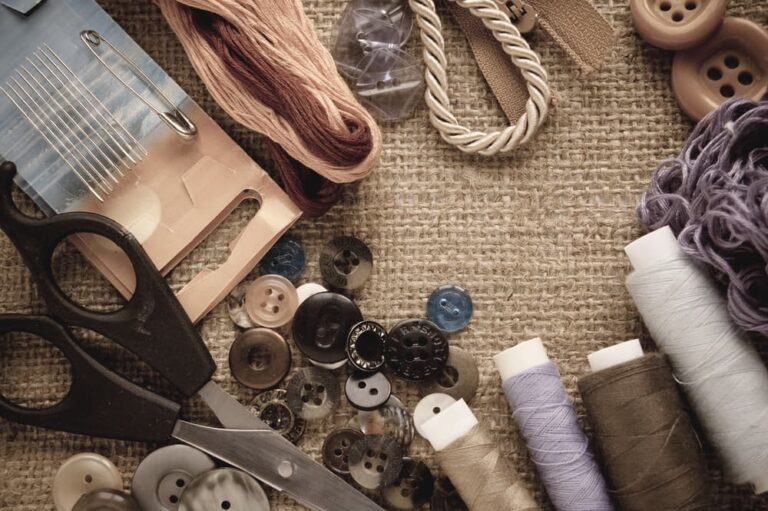
Materials You Will Need:
- Needle: A medium-sized sewing needle is perfect for most buttons.
- Thread: Use a strong, durable thread that matches the color of your fabric.
- Button: Choose a suitable button that fits the design and function of your garment.
- Scissors: Sharp scissors are essential for cutting thread.
- Fabric: The garment or fabric you are attaching the button to.
How to Sew a Button: A Step-by-Step Guide
Whether it’s a last-minute fix before an important event or adding a personal touch to your wardrobe, sewing a button is a skill everyone should have up their sleeve. Let’s dive into the simple yet effective process of sewing buttons, ensuring your garments are always in perfect shape.
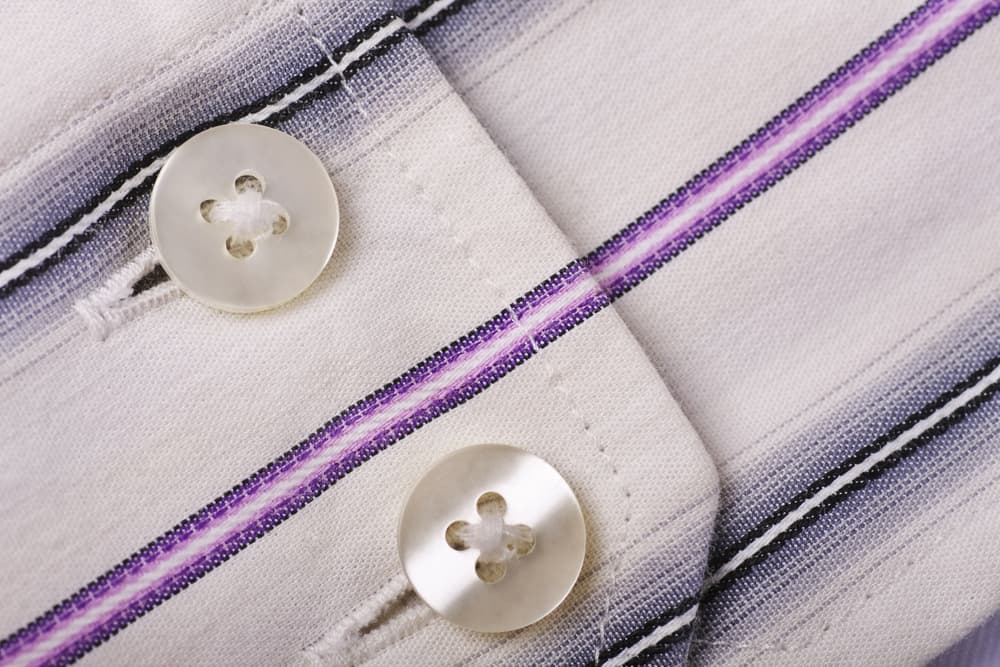
For a Two-Hole Button:

Step 1: Select Your Materials
- Pick a button that matches your garment in style and color. Choose a thread that complements the fabric and any existing buttons for a seamless look. Doubling the thread can speed up the process and add durability.
Step 2: Prepare the Needle
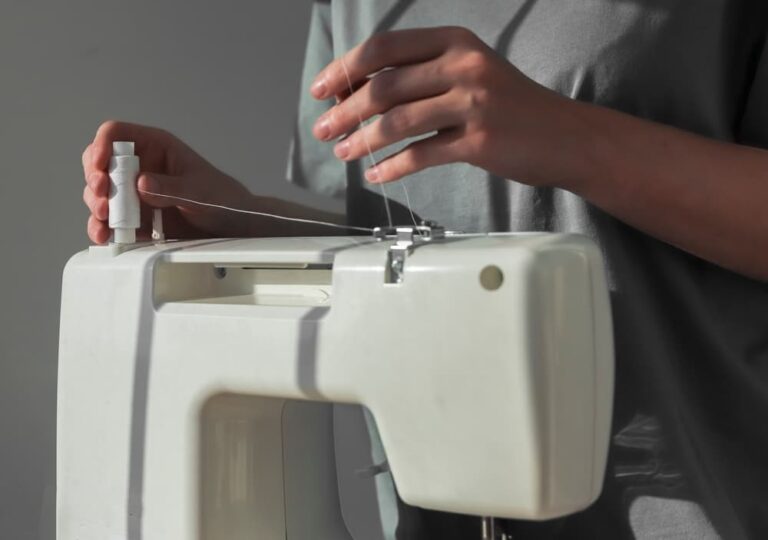
- Thread your needle, ensuring equal lengths of thread extend from both sides to double its strength. Learn how to thread your sewing machine here.
Step 3: Secure the Thread
- Create a knot at the thread’s end for security. If you’re using double thread, knot the ends together. A longer tail ensures ease of sewing.
Step 4: Position Your Button
- Align the button with the garment’s other buttons for uniformity. Ensure it matches up with the corresponding buttonhole for a neat finish.
Step 5: Begin Sewing
- Push the needle from the fabric’s underside through one buttonhole and pull until the knot stops the thread.
Step 6: Use a Spacer
- Place a straight pin under the button to prevent sewing it too tightly, allowing for easy buttoning.
Step 7: Complete the Stitch
- Push the needle down through the opposite hole, securing the button in place. Repeat this step for added strength.
Step 8: Finalize the Attachment
- After several stitches, remove the pin and wrap the thread tight around the stitches to form a shank. This step ensures the button stands off the fabric slightly, making it easier to use.
Step 9: Secure and Finish
- Make a few final stitches in the fabric under the button to secure the thread, then cut off any excess.
For a Four-Hole Button:
Sewing a 4-hole button might seem more complex than its two-hole counterpart, but it’s as straightforward once you know the steps. Here’s how to master this essential skill, ensuring your garments are always secure and stylish.
Step 1: Select Button and Thread:
Choose a button that matches your garment in both style and color. Opt for the thread that complements the fabric and existing buttons. For added durability, consider doubling the thread.
Step 2: Thread Your Needle:
Cut a thread length (about 18-24 inches is usually sufficient), fold it in half to double it (if desired), and thread it through the needle’s eye. Pull the ends to even them out.
Step 3: Knot the Thread:
Tie a knot at the end of the thread. If you’ve doubled the thread, ensure the knot is large enough to prevent it from pulling through the fabric.
Step 4: Position the Button:
Align the button with the other buttons on your garment to ensure uniformity. Check its placement against the corresponding buttonhole for a perfect fit.
Step 5: Begin Sewing:
Start by pushing the needle up through the fabric from the back, aiming to come up through one of the button’s holes. Pull the thread through until the knot secures against the fabric.
Step 6: Insert a Spacer:
Place a straight pin horizontally under the button. This acts as a spacer to prevent sewing the button too tightly against the fabric, allowing room for the buttonhole to fit through easily.
Step 7: Sew the First Hole:
After coming up through the first hole, push the needle down through the diagonal hole on the button, pulling the thread taut.
Step 8: Sew the Second Hole:
Bring the needle back up through the fabric and the button’s second hole (not the one you just used, but the next in the diagonal pattern), then down through the opposite hole, creating an ‘X’ pattern across the button.
Step 9: Continue the Pattern:
Repeat the process, ensuring each stitch is tight and secure. Alternate the holes to strengthen the attachment of the button to the fabric.
Step 10: Secure the Button:
Once the button is firmly attached, remove the straight pin. Wrap the thread around the stitches under the button several times to form a shank. This provides space between the button and fabric, facilitating easy buttoning.
Step 11: Finish Off:
Push the needle back down through the fabric close to the base of the button but not through a hole. Make a few small stitches to secure the thread on the underside of the fabric, then tie a knot.
Step 12: Trim Excess Thread:
Cut off any remaining excess thread, leaving your garment looking neat and your button securely in place.
Quick Fixes for Common Button Sewing Issues
- Thread Knotting: Use beeswax or thread conditioner to prevent knots. Avoid pulling the thread too tightly.
- Button Alignment: Mark the correct position with the tailor’s chalk before sewing. If misaligned, remove and re-sew the button.
- Thread Breaking: Use high-quality, appropriate-weight thread. Ensure your needle is sharp and suitable for the fabric.
- Loose Buttons: Add more stitches and ensure they’re tight. For flat buttons, create a shank for stability and ease of use.