10+ Basic Different Types Of Stitches (That You Shoud Know)
Many different types of stitches can be used in embroidery and for sewing. The most common stitches include the Knit Stitch, Purl Stitch, Yarn Over Stitch, Double Crochet Stitch, Double Knit Stitch, Picking Up A Stitch, Running Stitch, Back Stitch, Cross-Stitch, Slipping Stitch, and Long Stitch.
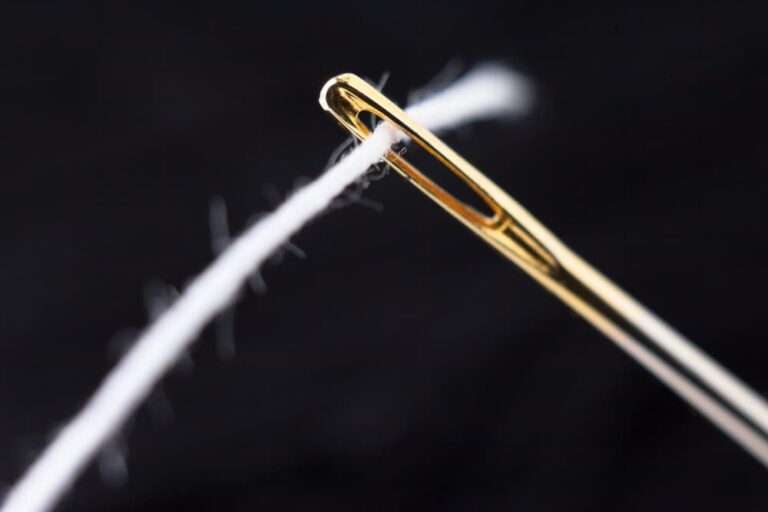
When you’re working on a project it’s important to choose the right type of needle-based on what you’re planning to do with your finished product.
If you were stitching a piece of fabric that was made of silk or linen, for example, you’d want to use a pointy needle so your thread doesn’t pull. however, if you were using denim or cotton then it’s okay to use a piece of embroidery floss because those fabrics don’t fray easily.
Explanation Of The Various Types Of Stitches:
1. Knit Stitch
The simplest stitch for novices is the knit stitch, which simply involves pushing your needle through the loops that form as you go. In other words, “knit” just means putting your needle through each loop, strand by strand.
2. Purl Stitch
The purl stitch is just the opposite of a knit stitch. It’s pushing your needle through each strand going backward, forming loops on the other side that look like little bumps along a row.
The great thing about stitches that alternate knit and purl is that they produce a “ribbed” effect, making for a nice flexible fabric.
3. Yarn Over Stitch
In this type of stitch, you do not make any new loops on the needle but instead “yarn over,” or put your yarn around your needle before pushing it back through all the strands to make them into one loop again.
This creates a large loop along one edge of your knitting which can be used for decorative purposes in many ways. It’s also useful for tucking in the end.
4. Double Crochet Stitch
This stitch is a very good one to know as it can be used for an almost infinite variety of things, from making rugs to mats, blankets, and hats. To do this stitch, you first insert your needle into the material then bring it back up, allowing two strands from that hole to remain on your needle at once.
Next, you wrap yarn around the hook again and pull a loop through both strands ending up with three loops on your needle. Finally, you yarn over again and pull the yarn through all three loops to make one knot in the fabric.
It takes some time to get the hang of this, but don’t give up! Your stitches will look incredibly neater than mine if you persist!
The yarn over stitch is the basic stitch that forms the petals in a flower when you go around and around with loops.
5. Double Knit Stitch
This type of stitch creates a thicker, more solid fabric than its opposite number, purl. Don’t be duped by the name though it is just as easy to do!
To form this knot you must insert your needle into each strand going forward with the yarn on top of your needle for a change.
With two different stitch types, you have the option of adding even more thickness to your cloth with your needles and yarn!
6. Picking Up A Stitch
People getting started in knitting will often wonder what they should do if their pattern calls for stitches to be picked up along the edge of a band or sock, for example.
Many people think that knitting is all about making holes in the fabric, but these are just mistakes if you don’t know what you’re doing!
There are two approaches to removing the stitches: the hidden technique and the raised approach. The first way involves putting your needle through the edge of the fabric at an angle on one side and then bringing it out on the other side without ever poking back into its original hole on the first side.
This makes a neat little “loop” that can be used like any other stitch when you get around to working with it.
7. The Running Stitch
This stitch is also called the straight stitch because it goes back and forth, making a little zigzag pattern.
This is not used very much but can be fun to do with really colorful yarns to make pictures out of the stitches.
8. The Back Stitch
This kind of knot makes vertical rows that are particularly good for pockets or decorative stitching along an edge. It’s done by bringing your needle up, back through the fabric under one strand, then forward again over another strand, repeating this process all along your line until you have something to show for it!
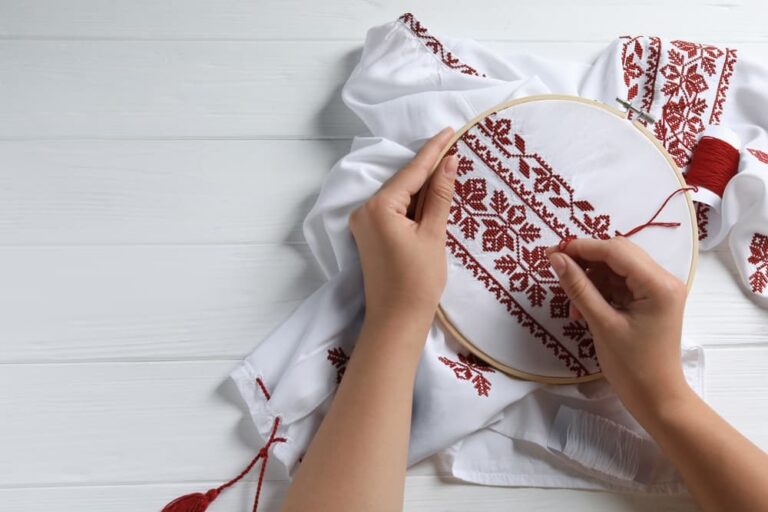
9. The Cross-Stitch
This type of stitch has two advantages: It adds great texture and color to any project since you use four strands instead of two and it makes a solid line of stitches that doesn’t allow the material to move about as much as even your best running stitch.
You can create patterned rows or squares with this stitch, or just do one set of knots in a line for a geometric look. It’s hard to go wrong!
10. The Slipping Stitch
The slipping stitch is really good for projects where you want the yarn to be very loosely held together so there are lots of different holes throughout the area being worked on.
As a result of this, you’ll find that hats and gloves are frequently among the items given as part of your order or materials that might scratch them up if those areas were not loose as they are.
It’s also useful because it may be used in conjunction with other stitches to produce designs and textures that you wouldn’t have considered otherwise!
11. The Long Stitch
This type of stitch is good for basketweave patterns or any time that you want to create a deep, basketweave-like pattern with lots of holes along the rows.
It looks fancy but it’s quite easy! Just knit one row as usual, then lift your needle over several loops on the backside straight stitch and insert it into the next strand forward from where it came out on the other side.
You can pick up anywhere from 3 to 20 loops depending on how wide you want the basket weave pattern to be!
Conclusion:
There are several different types of needlework. It is important to know which ones to use for the projects you enjoy making.
The straight stitch, the running stitch, and the backstitch can be used to make your work look like it was knitted by hand using a knitting needle.
Be sure to learn how to do these stitches correctly so that your projects will come out just as you want them!
We hope you liked this post about different types of stitches we will publish more such posts soon!
You may also like some other articles on improvesewing.com