Thread the Needle: How to Thread an Embroidery Needle Like a Pro
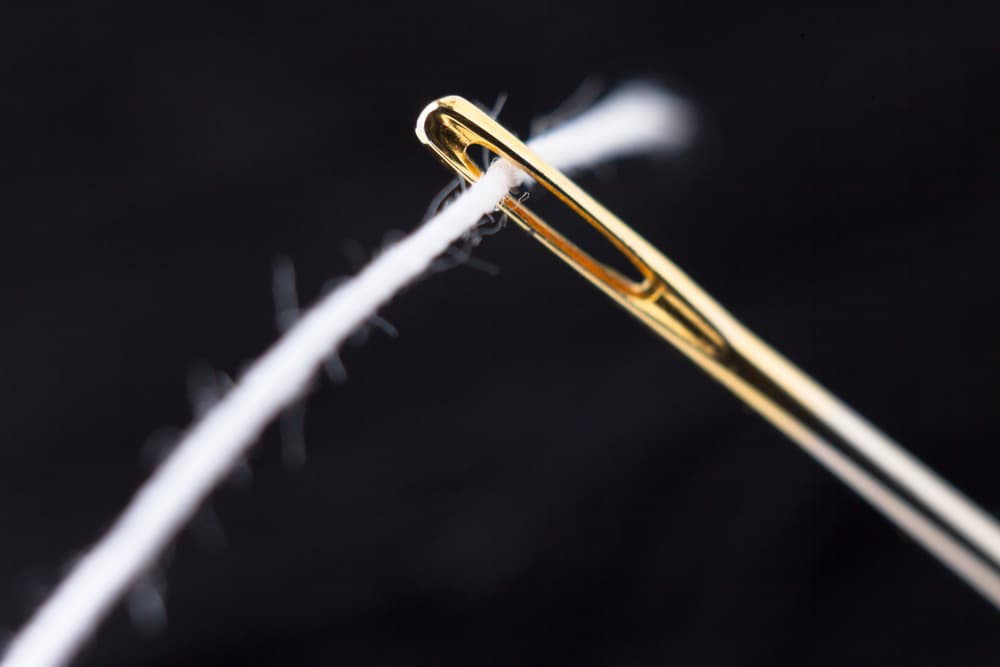
The most challenging task in embroidery is often seen as threading a needle with multiple strands of embroidery floss.
Nevertheless, there are simple approaches that have become easy to follow so that there will be no need for the old way of running the thread wet with your tongue.
The first step that will be taken earlier will be to separate the strands of embroidery floss correctly and to ensure there will be no tangles. Then finding two most proper ways to subsequently thread your needle will be a great help in making it a much easier process.
Furthermore, these activities make the first steps in embroidery easier but also increase the competitive level of the process; this allows the boring or difficult part of the craft to become gradually more fascinating to the crafter. Implementing these techniques will simplify the commencing of your embroidery masterpiece in a way that may not come as difficult and tiresome.
Which Needle and Thread is best for embroidery?
When it comes to embroidery, selecting the correct needle and thread is paramount for achieving beautiful, precise work. The vast array of needles and threads available can be tailored to specific techniques and fabric types, ensuring that every stitch is executed flawlessly.
Top Needles for Embroidery:
Crewel Needles (Embroidery Needles)
Ideal for most embroidery work, crewel needles come with a medium-long eye that makes them perfect for threading embroidery thread, including cotton threads. Their sharp point is designed to pierce closely woven fabric, making them versatile for various embroidery styles.
Sharp Needles
These are essential for detailed work, providing the precision for intricate designs. Sharp point needles, with their fine point, are also excellent for creating bullion knots and working with thicker threads on denser fabric.
Chenille Needles
Similar to tapestry needles but with a sharp point, Chenille needles are perfect for working with larger threads or when executing techniques that require a type of needle that can handle heavier, decorative threads without fraying them.
Beading Needles
For adding embellishments to your embroidery, beading needles are slender and long, allowing them to pass through beads, sequins, and other adornments easily. Their fine point can navigate through tightly woven fabric, making them a great addition to your sewing notions.
Tapestry Needle
Featuring a large eye and a blunt point, a tapestry needle is designed for counted thread, needlepoint, and cross-stitch projects rather than traditional surface embroidery. They are excellent for working with wool and larger types of thread on loosely woven fabrics.
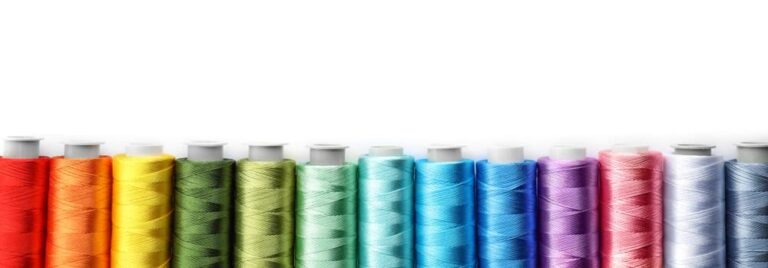
Choosing the Right Embroidery Thread:
- DMC Embroidery Floss
- Anchor Stranded Cotton
- Sulky Rayon Thread
- Madeira Polyneon Embroidery Thread
- Coats & Clark Embroidery Thread
- Kreinik Metallic Threads
- Gutermann Silk Thread
- Aurifil Cotton Mako Thread
- Cosmo Embroidery Floss
- Valdani Hand-Dyed Thread
- Pearl Cotton Thread
- Rainbow Gallery Splendor Silk Thread
- Floriani Polyester Embroidery Thread
- Isacord Embroidery Thread
- Mettler Poly Sheen Thread
Read this article for further information on how to choose the right embroidery thread.
Step-by-Step Guide to Threading Your Needle
- Cut Your Floss to the Right Length: Begin by cutting a length of embroidery floss approximately 18 inches long. This length allows for easy handling without causing too much strain on the floss, which can lead to tangling and wear.
- Separate the Strands (If Necessary): Depending on your design, you may need to use all six strands of the floss or separate them for a finer line. Gently pull apart the desired number of strands from the cut piece.
- Prepare the End of the Floss: Lightly moisten the end of the floss with your lips or a damp cloth. This step will help to compact the fibres, making them easier to thread through the needle’s eye.
- Thread the Needle:
- Method 1: The Traditional Method: Hold the needle in one hand and the floss in the other. Gently press the end of the floss into a flat shape between your thumb and forefinger, which will assist in guiding it through the eye of the needle. Slowly push the end of the floss through the needle’s eye.
- Method 2: The Loop Method: Another technique involves folding the floss over the needle to create a loop, then pulling the needle out, leaving a small loop through which the rest of the floss can be threaded.
- Method 3: Using a Needle Threader: For those who find threading particularly challenging, a needle threader can be a helpful tool. Pass the wire of the needle threader through the eye of the needle, insert the floss through the wire loop, and then pull the threader back through the needle’s eye, bringing the floss with it.
- Securing the Floss: Once threaded, pull the floss until you have an even length on both sides and knot the ends together, or leave one end longer if your design calls for it.
Tips for a Smooth Threading Experience
- Use a Needle Threader: This simple tool can significantly ease the process of threading, especially for needles with small eyes.
- Cut Your Thread at an Angle: Snipping the end of your thread at a sharp angle can create a pointed tip that’s easier to insert through the needle’s eye.
- Moistening the Thread: Lightly moistening the tip of the thread can help to compact the fibres, making it easier to pass through the needle.
- Stabilize Your Hands: Resting your hands or the needle against a surface can reduce shaking and improve control when threading.
- Choose the Right Needle Size: Ensure the needle’s eye is appropriately sized for your thread to avoid unnecessary struggle.
- Use Good Lighting: Adequate lighting is crucial to see the needle’s eye clearly and can prevent eye strain during the threading process.