How To Sew A Hole?
I was working on my new shirt when I accidentally snipped a hole in it with the scissors. Now that is how you sew a hole!
A little while later, I went into the kitchen to grab some food and found my dog Holly eating one of my shoes. “Hey, Holly” I offered. “What are you doing?” She replied, spitting out a brown paste that may have been comprised of melted fabric and popcorn seeds.
That’s not good at all…but now she can be an expert seamstress!
To make matters worse, right before bed last night, I noticed one of my pillows was missing. As soon as morning came around, I searched around for hours until finally, I found it hiding in the hamper filled with dirty clothes.
It seemed that the pillow had been attacked by a zebra, or someone’s black marker pen.
Now my bed is covered in holes! I guess it could be worse, but now how do I sew them?
To fix your shirt, pillows, and dog-chewed shoes, read through these simple steps to sew a hole without having to buy anything new!
Steps By Step Guide To Sew A Hole
Step 1:
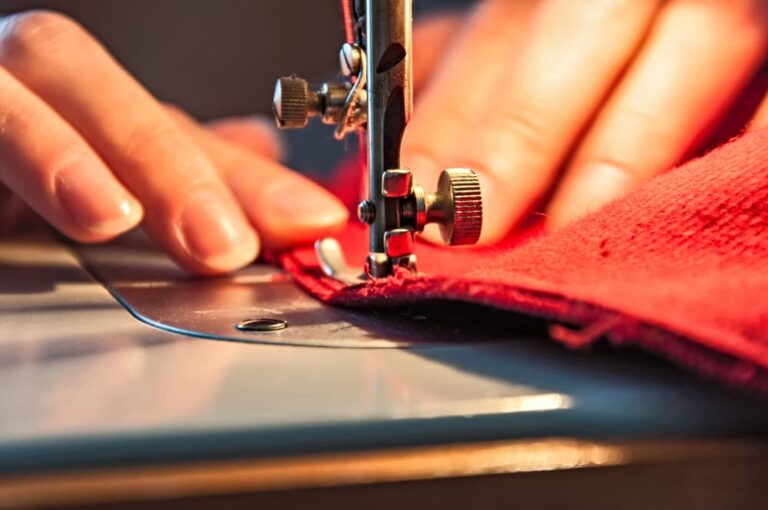
Cut out the excess fabric around the hole with sharp scissors until you are left with just enough material surrounding the tear or cut for support when sewing. Be not leave jagged edges.
Step 2:
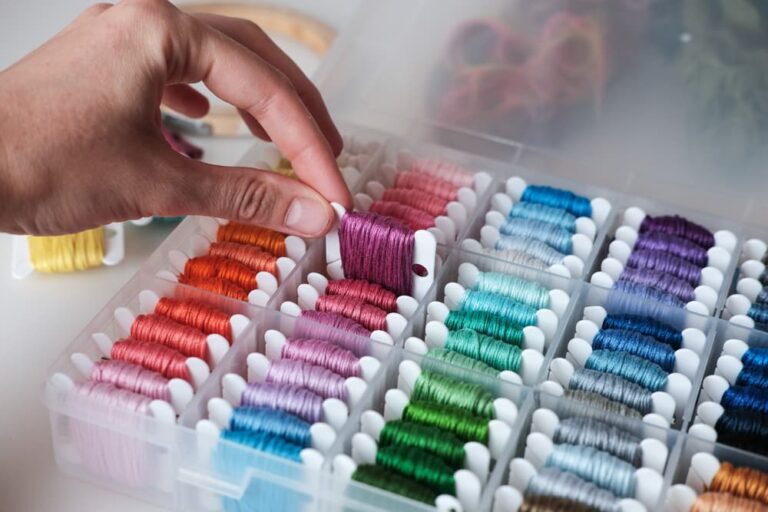
Sew the edges of the fabric together using a needle and thread. Start from one end and carefully stitch back toward yourself, making sure to leave enough room for your hand between the two pieces of fabric you are sewing together.
Sew each side of the hole once with a backstitch at both ends. Once finished, cut away excess threads with scissors.
Step 3:
Learn how to hide your mistake & make it look like nothing ever happened by double-folding fitted sheets or bedsheets over the stitches you just made on pillows.
To ensure that everything is hidden inside-out, flip your pillowcase inside out after finishing sewing to hide mistakes even better! If done properly, your tear shouldn’t be noticeable at all.
Step 4:
If you spilled anything on your shoes, simply dip the tip of a toothbrush in some baking soda before staining or clothing, try it to remove the stain. Scrub gently so as not to damage shoe material.
Afterward, mix 1 tablespoon of dish detergent with 2 cups of warm water and let your stained shoes sit for at least 15 minutes. Use a clean rag to wipe away any soap residue from your shoes once done.
Step 5:
To fix upholstery tear with zebra print design, use chalk pencils – chalk art pens – to create an animalistic pattern along the sewing line!
Then using white paint, color over the imprints you made with chalk pencils until completely opaque throughout the appearance.
This process can be repeated until you are satisfied with the results, so have fun and try to make your tears as unique as possible!
Step 6:
Use a stapler to fix holes in clothes. This is especially helpful for polyester clothing which cannot be seen otherwise. Follow steps 1 or 2 above first before stapling your garment back together.
If it’s a small tear, fold the fabric over on itself instead of creating new seams using this method.
Step 7:
Turn the shirt inside out and use straight pins to close up any open spaces where fabric is missing.
Sew each side of the hole once with a backstitch at both ends after inserting pins, making sure to remove them afterward lest they get stuck inside-out material and be visible when the fixed side is facing outwards.
If you don’t like this method, simply fold the shirt on itself and stitch each side of the hole back together instead to make your shirt look more professional.
Step 8:
If you still can’t fix your torn clothes or shoes, use an iron-on patch such as stick-on or iron patches (sold in craft stores), and cover the hole on both sides with them!
Extra special bonus points if you create a new design using paint, embroidery floss, and sewing skills for unique clothing wearing experiences.
Step 9:
Use transparent tape to hold the tear closed while it dries and then remove it once dry or just leave stuck for a unique embellishment that’s sure to amaze your friends and family!
Step 10:
Finally, if nothing seems to work, just cut out a pattern from old clothes that match the amount of fabric surrounding the hole.
Fold marked area by half and sew inside-out to make a fake plush toy in your desired animal form!
Once complete, use it as a pillow for fun or replacement in case any further tears occur in the real-life version.
New tip:
If you only have an odd number of blocks, rotate a block by 180 degrees when placing them next to one another.
This will ensure that when quilting is finished, there won’t be any unmatched seams within the final product.
Conclusion:
After learning how to sew a hole, you should now be able to fix your torn clothes & shoes by yourself without having to waste any money on buying new ones!
Leave all your ripped-up clothing behind and embrace the ancient art styles of sewing so you can create unique one-of-a-kind garments that will amaze everyone who sees them! Remember to have fun and be creative!
Keep reading improvesewing.com.